How-to — 6 min read
Small business trends to watch in 2026
The start of the year is always a vital time for small businesses. It brings opportunities to fine-tune your strategy,…

Every Setmore account comes with a free online Booking Page for your customers to schedule appointments online. We’ve already discussed the best ways to set up your Booking Page for success, and how to get traffic to your Booking Page.
This article is the next step and provides instructions for customers to use the Booking Page, and more specifically, the customer login feature. We’ll cover how to:
We’ve provided a non-branded PDF guide to using customer logins. Feel free to download and share this guide with your customers. You can also print this guide and display it at your location to help customers book their next appointment.
Download the customer logins PDF >
The rest of this article is written with your customers in mind. Read on to learn more about the customer login feature and what your customers will experience when booking online.
You can also share the following link with customers to send them straight to this section: customers guide to the customer login portal #start
In your web browser, enter the Booking Page URL. Setmore-powered businesses will usually post this URL on their website or social media.
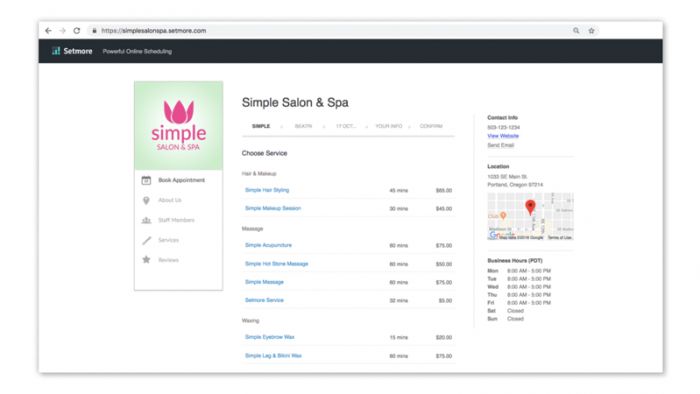
Note: The example screenshots portray a fictional business called ‘Simple Salon & Spa’ for demonstration purposes.
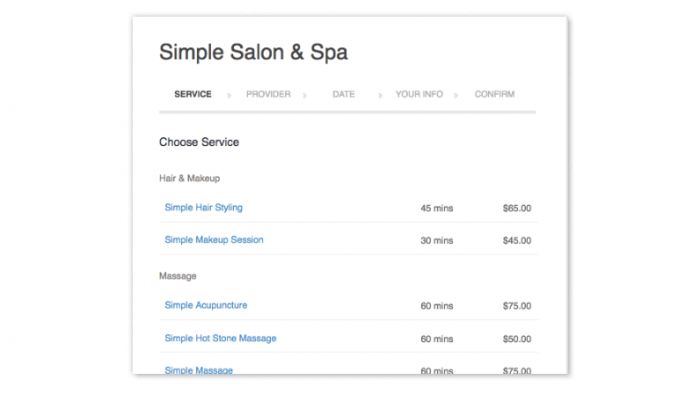
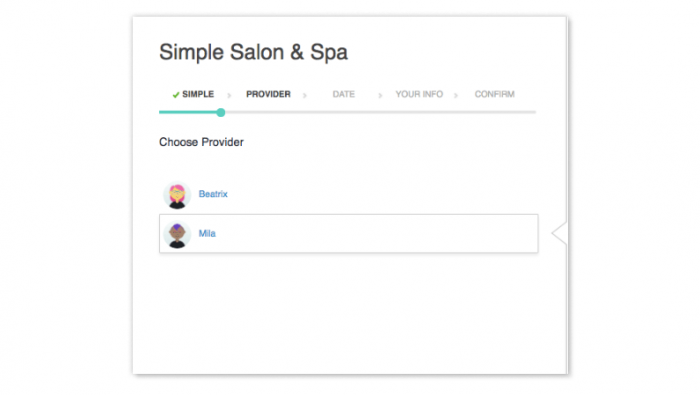
Click or tap on the service of your choice and the screen will move forward automatically. If prompted, choose the team member you’d like to deliver that service. (If the team member isn’t listed, it could be because they don’t offer that service.)
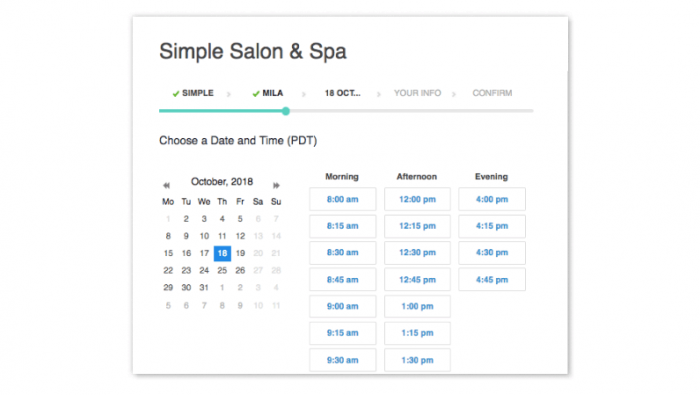
Click a day in the mini-calendar and select a time slot from the list of options.
The customer profile option may be enabled for the Booking Page. If so, you’ll be prompted to log in with your account to continue. Here you’ll see a number of options:
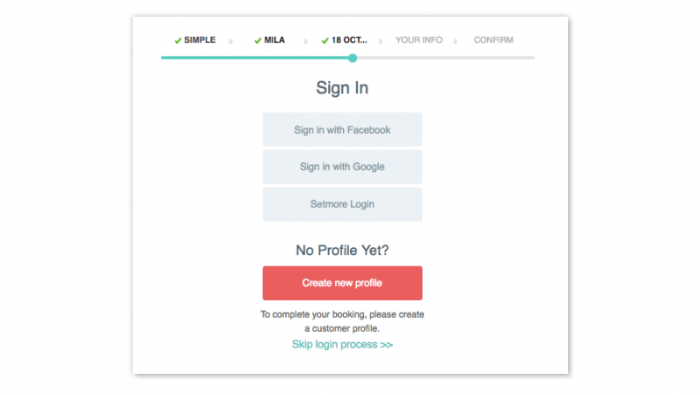
Here are some advantages to creating a customer profile:
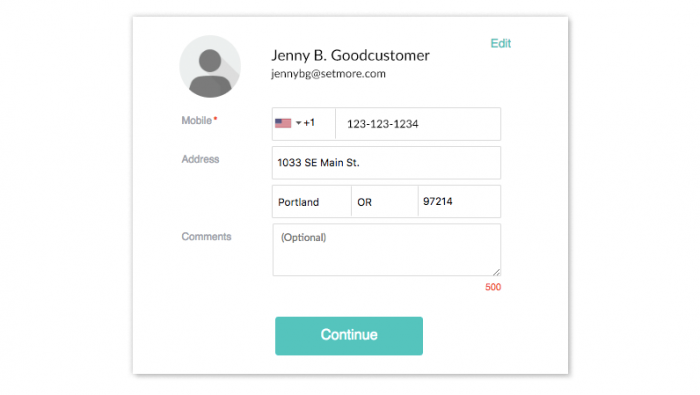
Your contact information lets the business know who’s coming in for the appointment. Also, you can receive appointment confirmation and reminder messages.
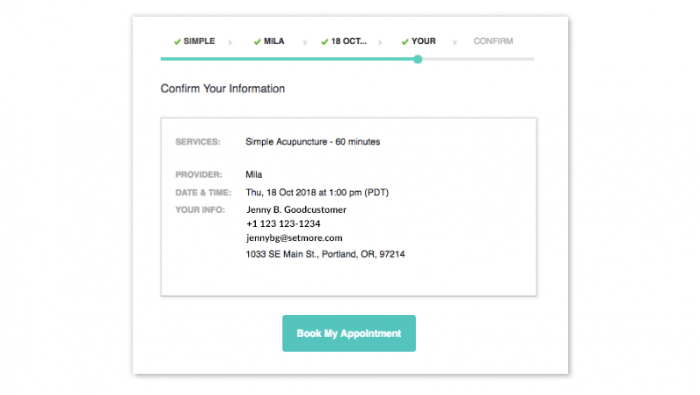
You’ll see all the details of your appointment presented on the next screen. If everything looks good, click ‘Book Appointment’. The final screen will confirm that your appointment was booked. You may also receive an automatic confirmation email from the business.
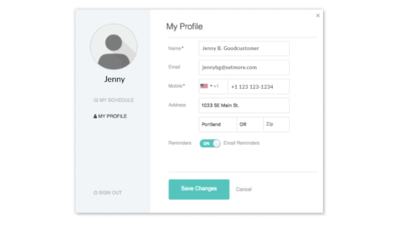
If the business has enabled the customer login feature, you can log into your profile on the Booking Page at any time. Here you can see your upcoming appointments and more.
Navigate to the business’s Booking Page and click ‘Login’ in the top-right corner.
The ‘My Schedule’ menu enables you to see upcoming appointments.
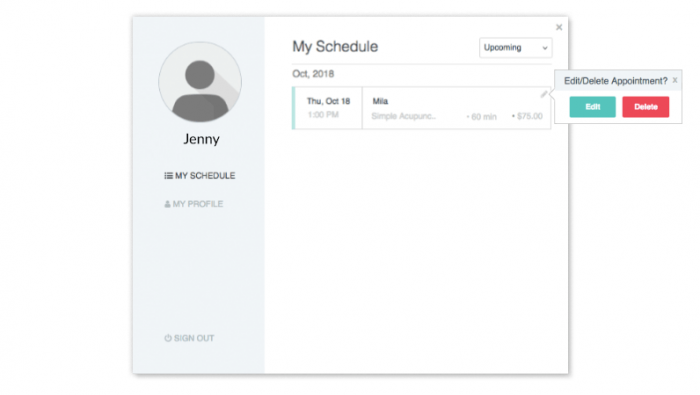
Here you can update your contact information or toggle email reminders on or off.
If you used your Facebook or Google account to create a customer profile, then you’ll continue to use that to log into your profile each time. If you created a separate username and password for your customer profile, and you lost or forgot your password, you can follow these instructions to reset it:
Navigate to the Booking Page and click ‘Login’ in the top-right corner.
When prompted to log in, click the ‘Forgot password?’ link.
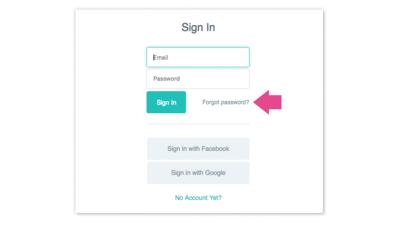
When prompted, enter your email address and click the ‘Submit’ button. Setmore will send you an email with a link to reset your password.
If you’re a customer, we hope that this article makes it easier for you to schedule appointments online. If you’re a Setmore user, we hope it provides insight into the online scheduling experience.
Don’t currently use Setmore? Get a free online scheduling platform for your personal or professional use. Setmore is free to use and comes with automated email confirmations and reminders, multiple staff calendars and logins, a customer-facing Booking Page and more. Sign up in seconds with no credit card required.
Happy scheduling!

by Cassandra
Writer, editor and scheduling product expert at Setmore Appointments.


The start of the year is always a vital time for small businesses. It brings opportunities to fine-tune your strategy,…

Many small service-based businesses start with one goal: to help people. But over time, the behind-the-scenes demands start to stack…
Business owners, this one’s for you. Ever thought, “I need something that works with my existing tools, saves me time,…
